Design Process
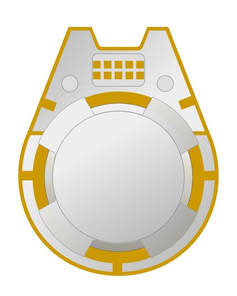
The finishes selected were brushed aluminium and polished gold, These were chosen to impart a sense of precious value, and to make the small processor, easier to spot on camera.
Construction Process
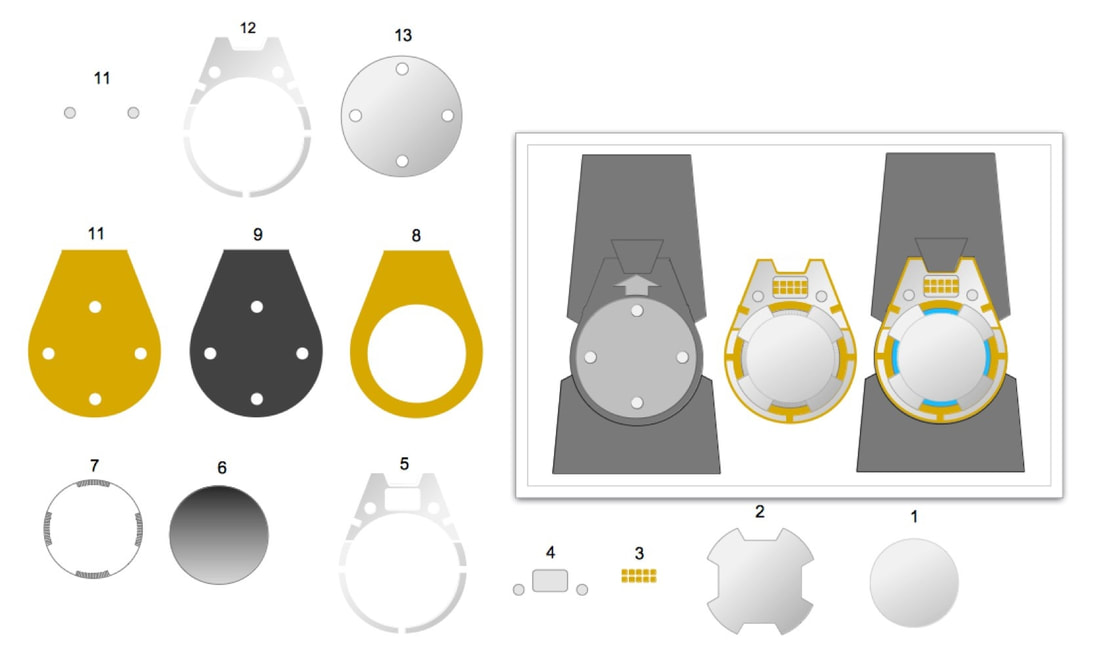
Once the design had been approved, all requisite components where designed and rendered for output via CNC and laser cutting. These were made from either plastic or metal sheet-stock. In addition, cut-vinyl decorative features were designed and produced.
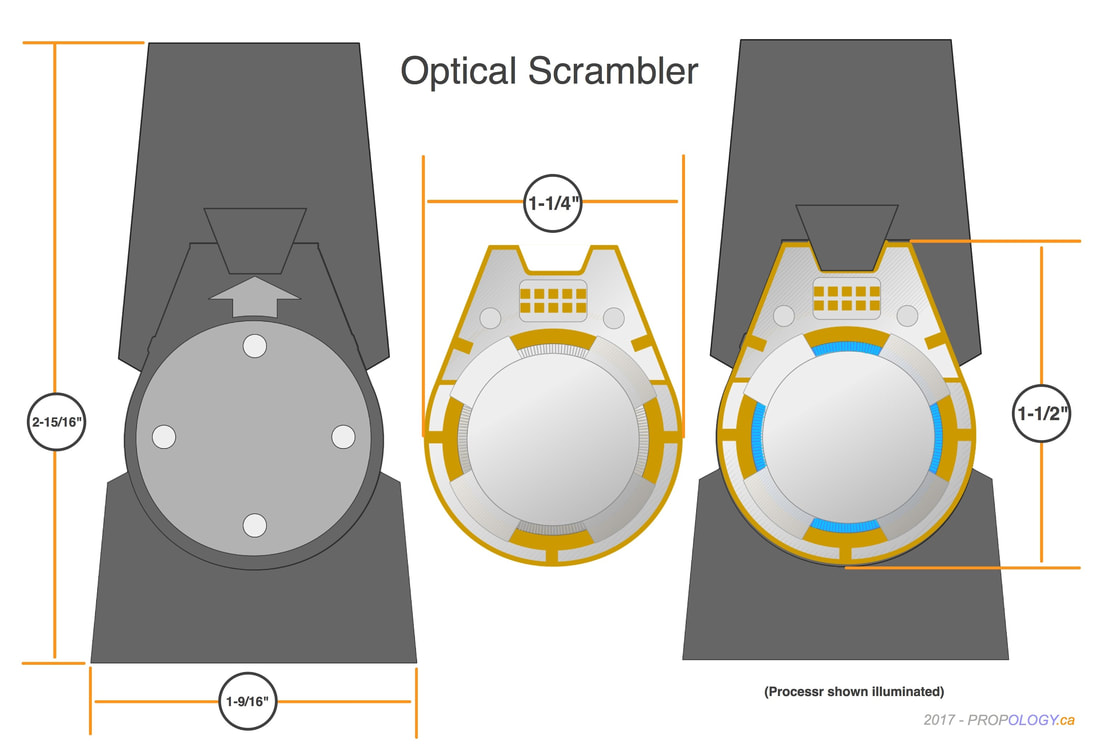
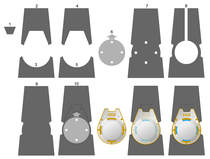
The two major assemblies ("processor & "reader interface") were built by layering the sheet-cut components atop one another, in proper order (like a layer cake). This was easily accomplished, as double-face adhesive sheet had been applied to to certain components prior to being cut from sheet-stock. Most of the assembly procedure was merely a "peel & stick" process.
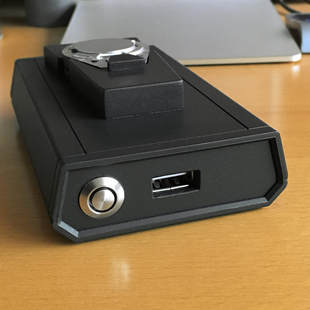
Sometime during construction, the Prop department expressed concern that the "reader interface" device might be too small visually, and perhaps awkward to use. The solution... an interesting off-the-shelf electronics enclosure was added to the original assembly. Slate-gray paint was applied to both to provide uniform color and finish.
This change actually made it easier to incorporate the electronics required for the planned LED lighting effects. Originally, this was to be accomplished by installing the electronics (less the LEDs) into a separate, off-camera housing. This would contain the power supply and effects circuitry, and would have been attached to the reader by a cable connection. Now all the requisite components could be housed in a single unit.
Operational Features
(stop-action illumination sequence)
 RSS Feed