to split the work between two vendors... PROPOLOGY & IRL CREATIVE
Design Process
Construction Process
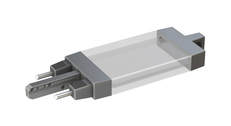
The "chassis" for the device consisted of two found objects already on hand from shop stock. These were a kind of phenolic-plastic electrical box (obtained from Boeing Surplus Sales) that had beed purchased years ago.
They were a two piece affair; each with a 45 degree slope at their joining faces. Aligned as intended, would create a rectangular shaped housing. For this project however, only the lower half of each would be used.
These housings were joined together via a backing plate made from 1/4" acrylic plastic sheet. Attachment was achieved via the existing mounting flanges on the electrical boxes. The backing plate was simply drilled to suit the flange locations, and the holes tapped for stainless steel cap screws.
Embedded Into the rear of the backing plate were several rare-earth magnets. This was to furnish easy and secure mounting to a certain set-piece
(a steel, marine shipping container).
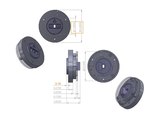
While IRL Creative continued making the keys and key-way assembles, work progressed at PROPOLOGY to fabricate the front face plates for the housings. These consisted of several layers of laser, and CNC router cut, plastic and metal sheet. Each layer had certain cut-outs to accommodate both the internal and external features of the face plates.
The top face of both the housing covers, and mounting plate, were faced with clear-anodized, brushed-aluminium, metal sheet. To complement this (and to suggest that the entire device housing was made from a metal casting)
all other exposed surfaces were painted matte-aluminium.
"Status indicator windows" were also laser-cut and engraved with thin, parallel lines. This added a nice design feature, and aided in diffusing the LEDs that were to be installed behind them. In addition, translucent "privacy-film" was applied to the back of each, in order to further diffuse the LED lighting. To prevent light leaks, both indicator windows were backed by a light box made from white (Sintra) plastic sheet. The color chosen, would also contribute to providing even, diffuse, illumination.
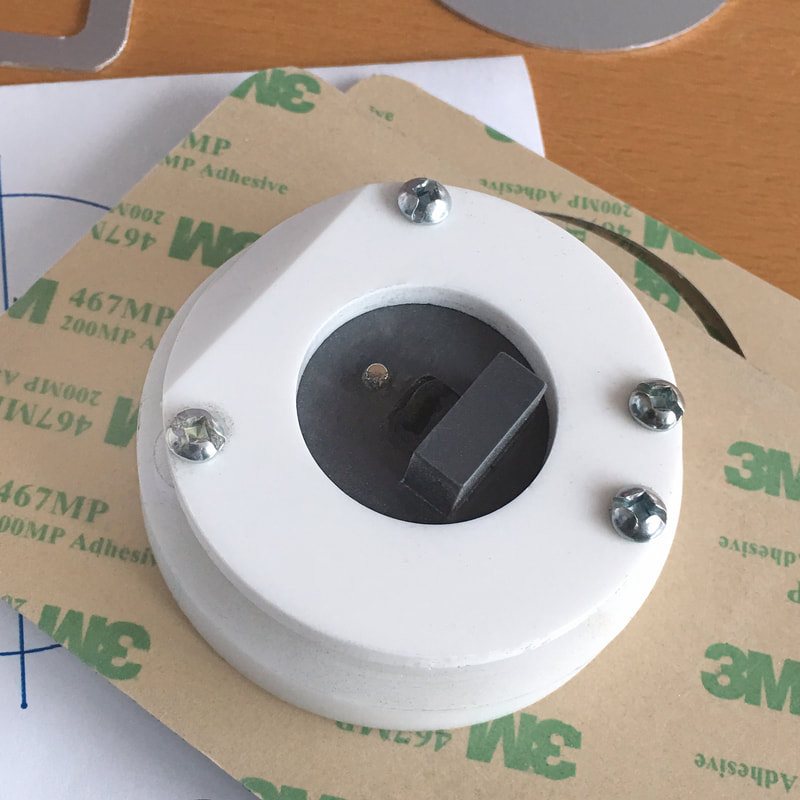
(electronics not yet installed)
Control was provided by microswitches that were installed into each keyway assembly (2- per unit). One switch was situated at the far end off the key-way that would close whenever a key was inserted. This would cause the red LED indicators to illuminate ("KEY PRESENCE VERIFIED"). The second microswitch was positioned in the path of a cam. Whenever the key-way was rotated 45 degrees, the cam would actuate the switch, and the red indicators would change to green ("UNLOCK GRANTED").
especially in collaboration with the talent at IRL!


 RSS Feed